Arduino HMI
Goals
-
Use Arduino module as the main control board for controlling the I/O functions and show I/O status on Ubique Panel
-
Ubique Panel serves as the HMI that communicates with the Arduino module with the predfined protocol. Users can accomplish this without writing any code in Ubique Panel.
Preparations
-
ADE: Please download from IOT Website
-
Arduino IDE: Please download from Arduino Website
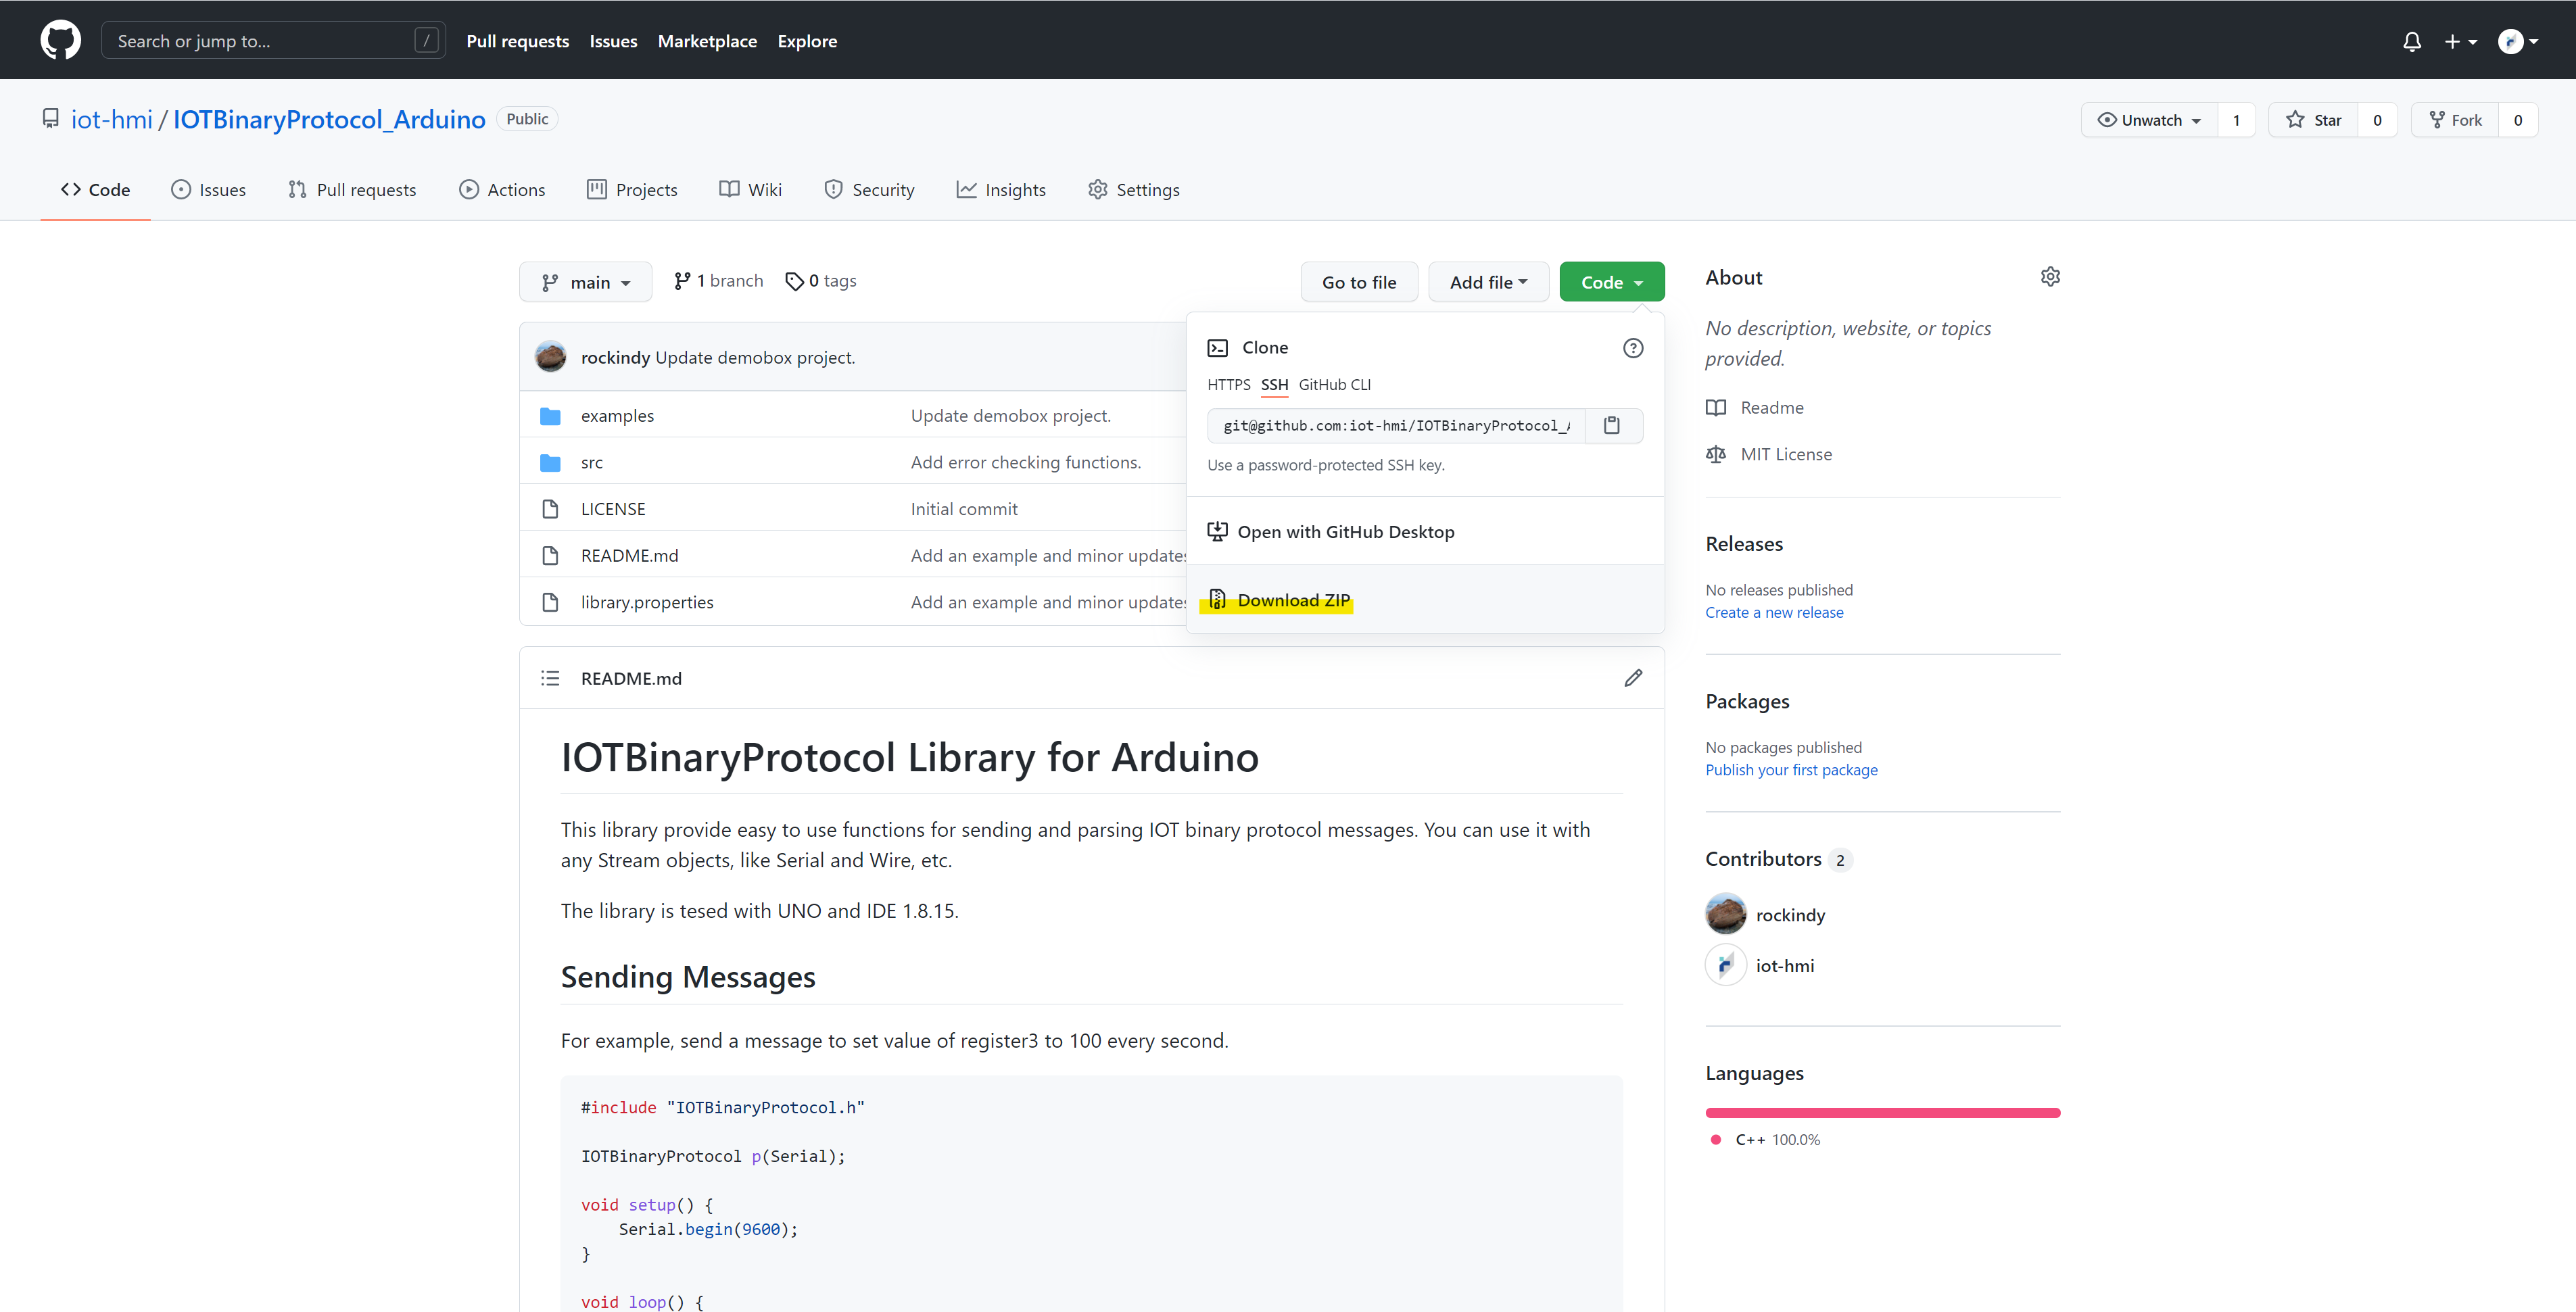
Step 1 : Download IOTBinary Protocol
-
Please go to IOT Github
-
Download the ZIP file
-
Please follow the instructions described in README.md
Step 2 : Open Arduino IDE
-
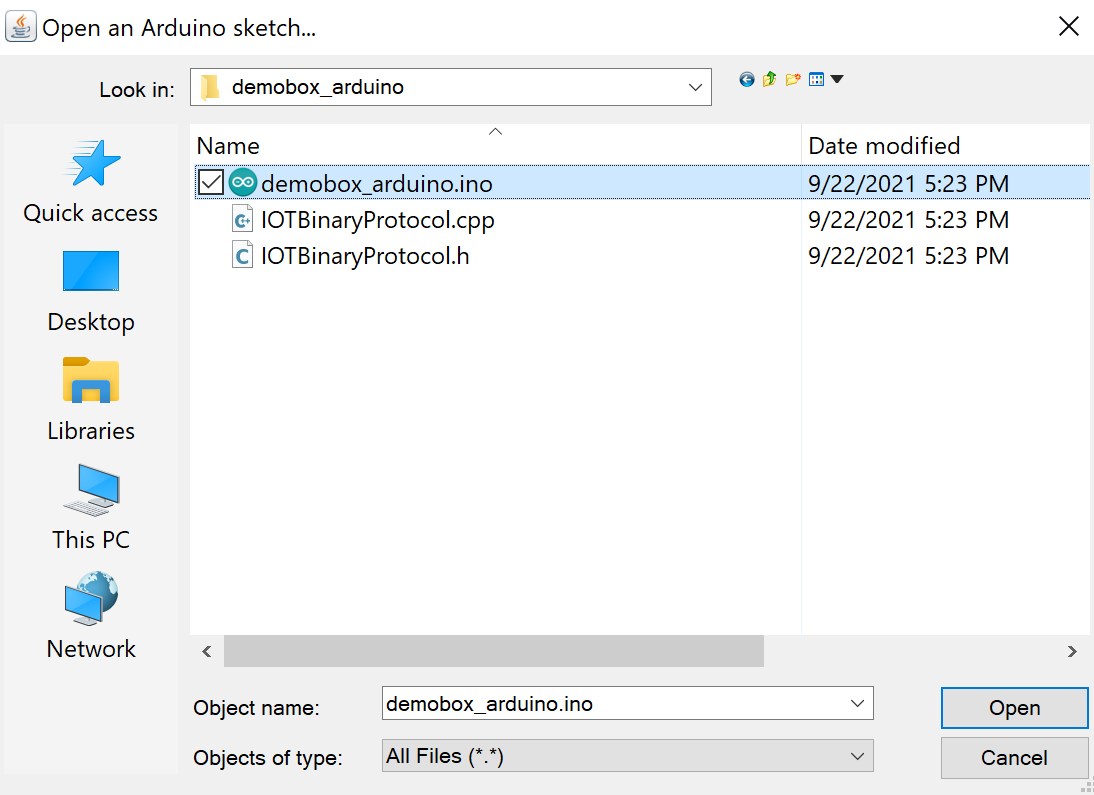
Please create a folder and name it demobox_arduino.
-
Please unzip the downloaded ZIP file from Githbub.
-
Please copy IOTBinaryProtocol.cpp and IOTBinaryProtocol.h of src directory to demobox_arduino.
-
Please copy demobox_arduino.ino of examples directory to demobox_arduino.
-
Please open demobox_arduino.ino of folder demobox_arduino in Arduino IDE.
-
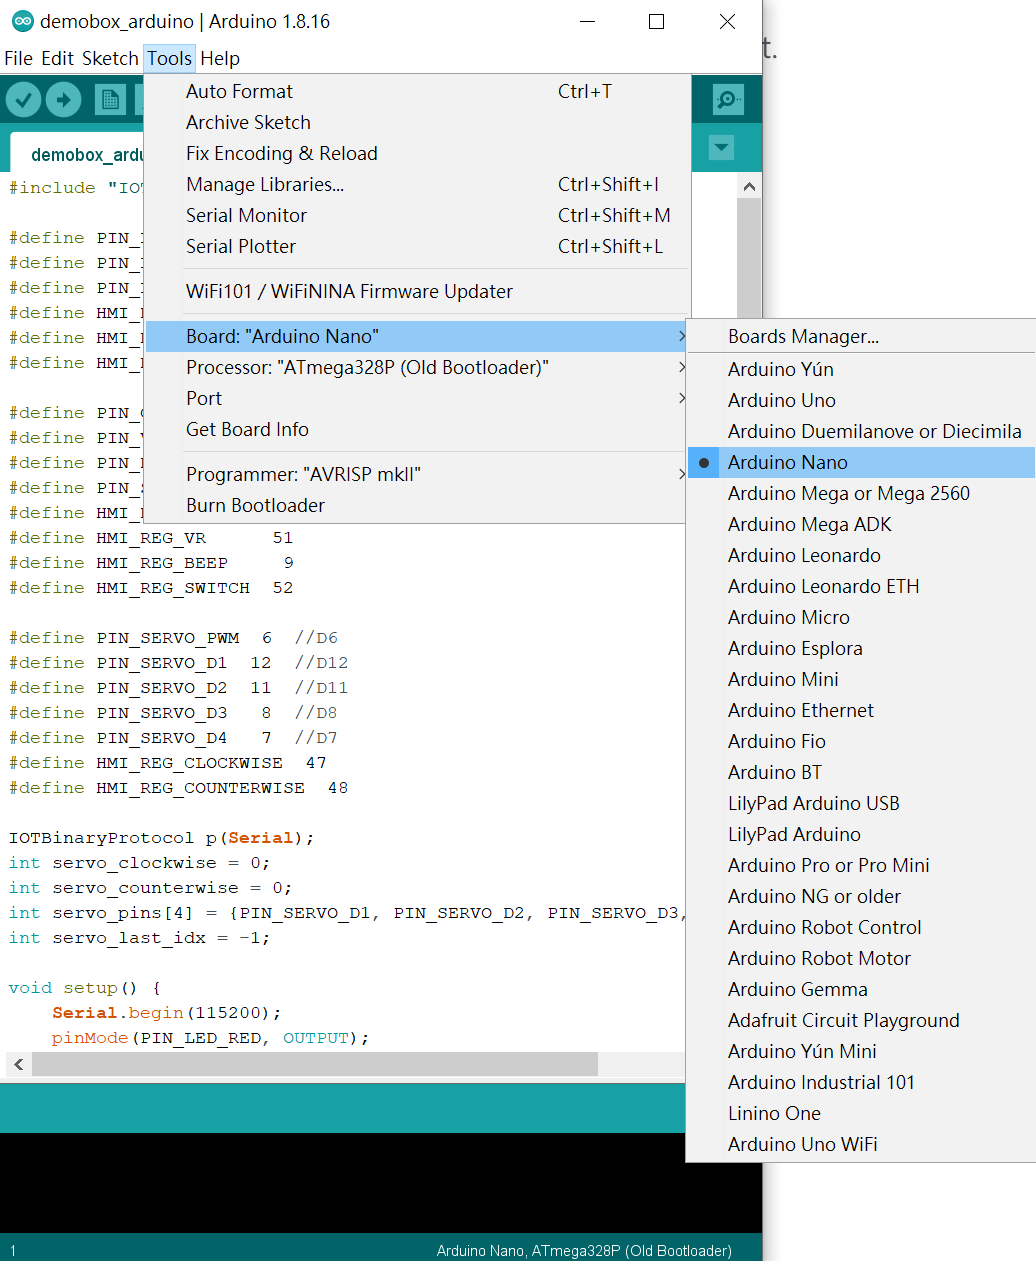
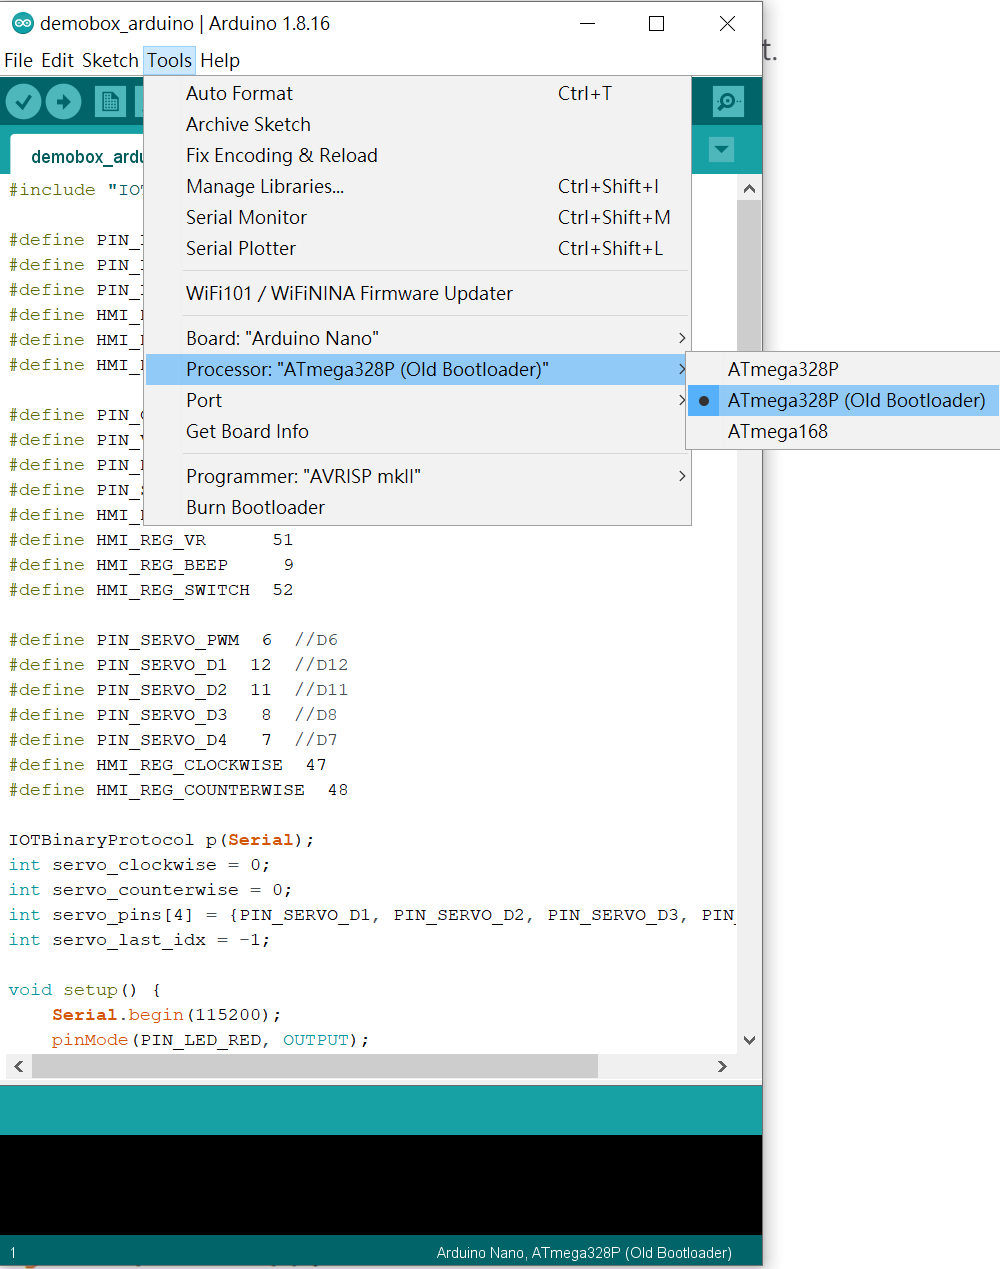
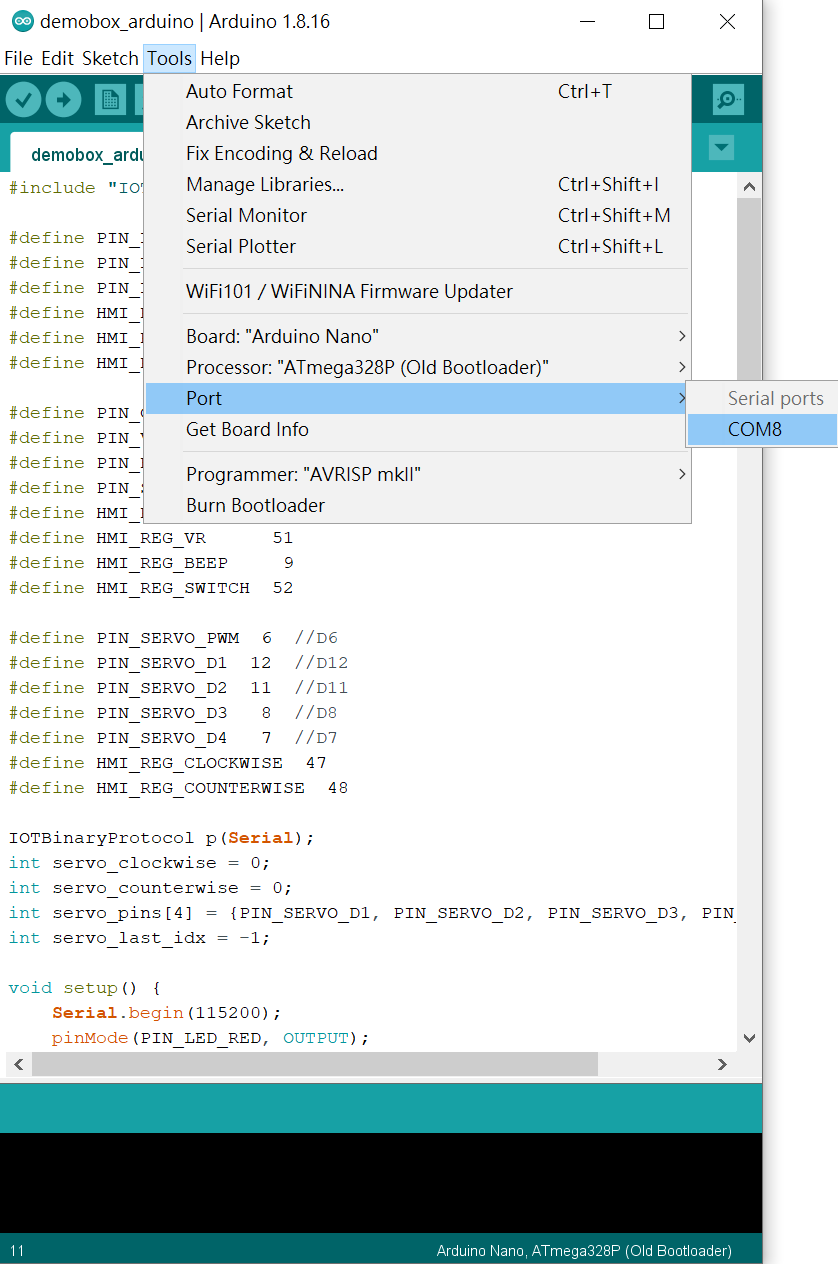
Please choose Arduino Nano
-
Use USB Type A to USB mini connector to connect Arduino Nano with your PC. Please make sure you choose the right processor and serial port.
- Please choose the right processor for your NANO module. Please refer to Arduino Website for details.
- If you cannot find the serial port, Please visit ftdichip and download FT232 USB UART Driver.
-
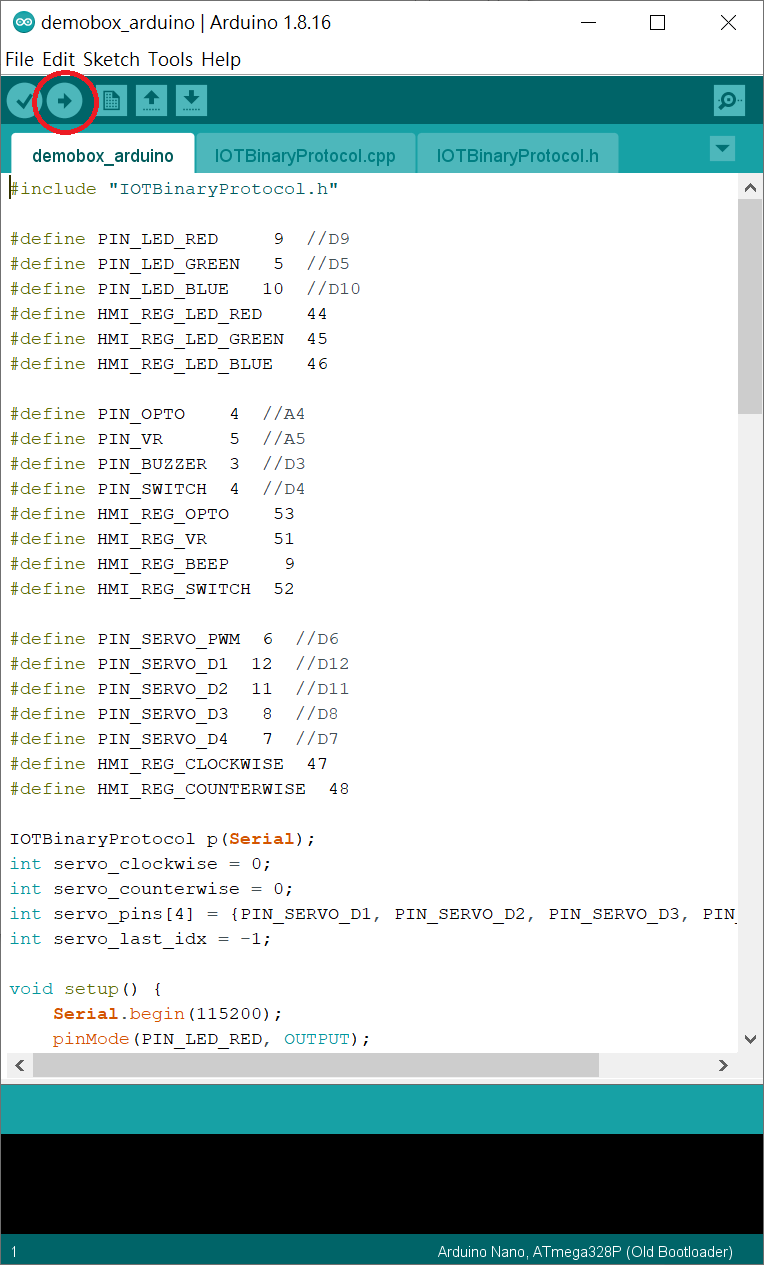
Pleae click arrow ⇨ to download Arduino program.
-
Please disconnet the USB cable between the Arduino module and your PC.
Step 3 : Open ADE
-
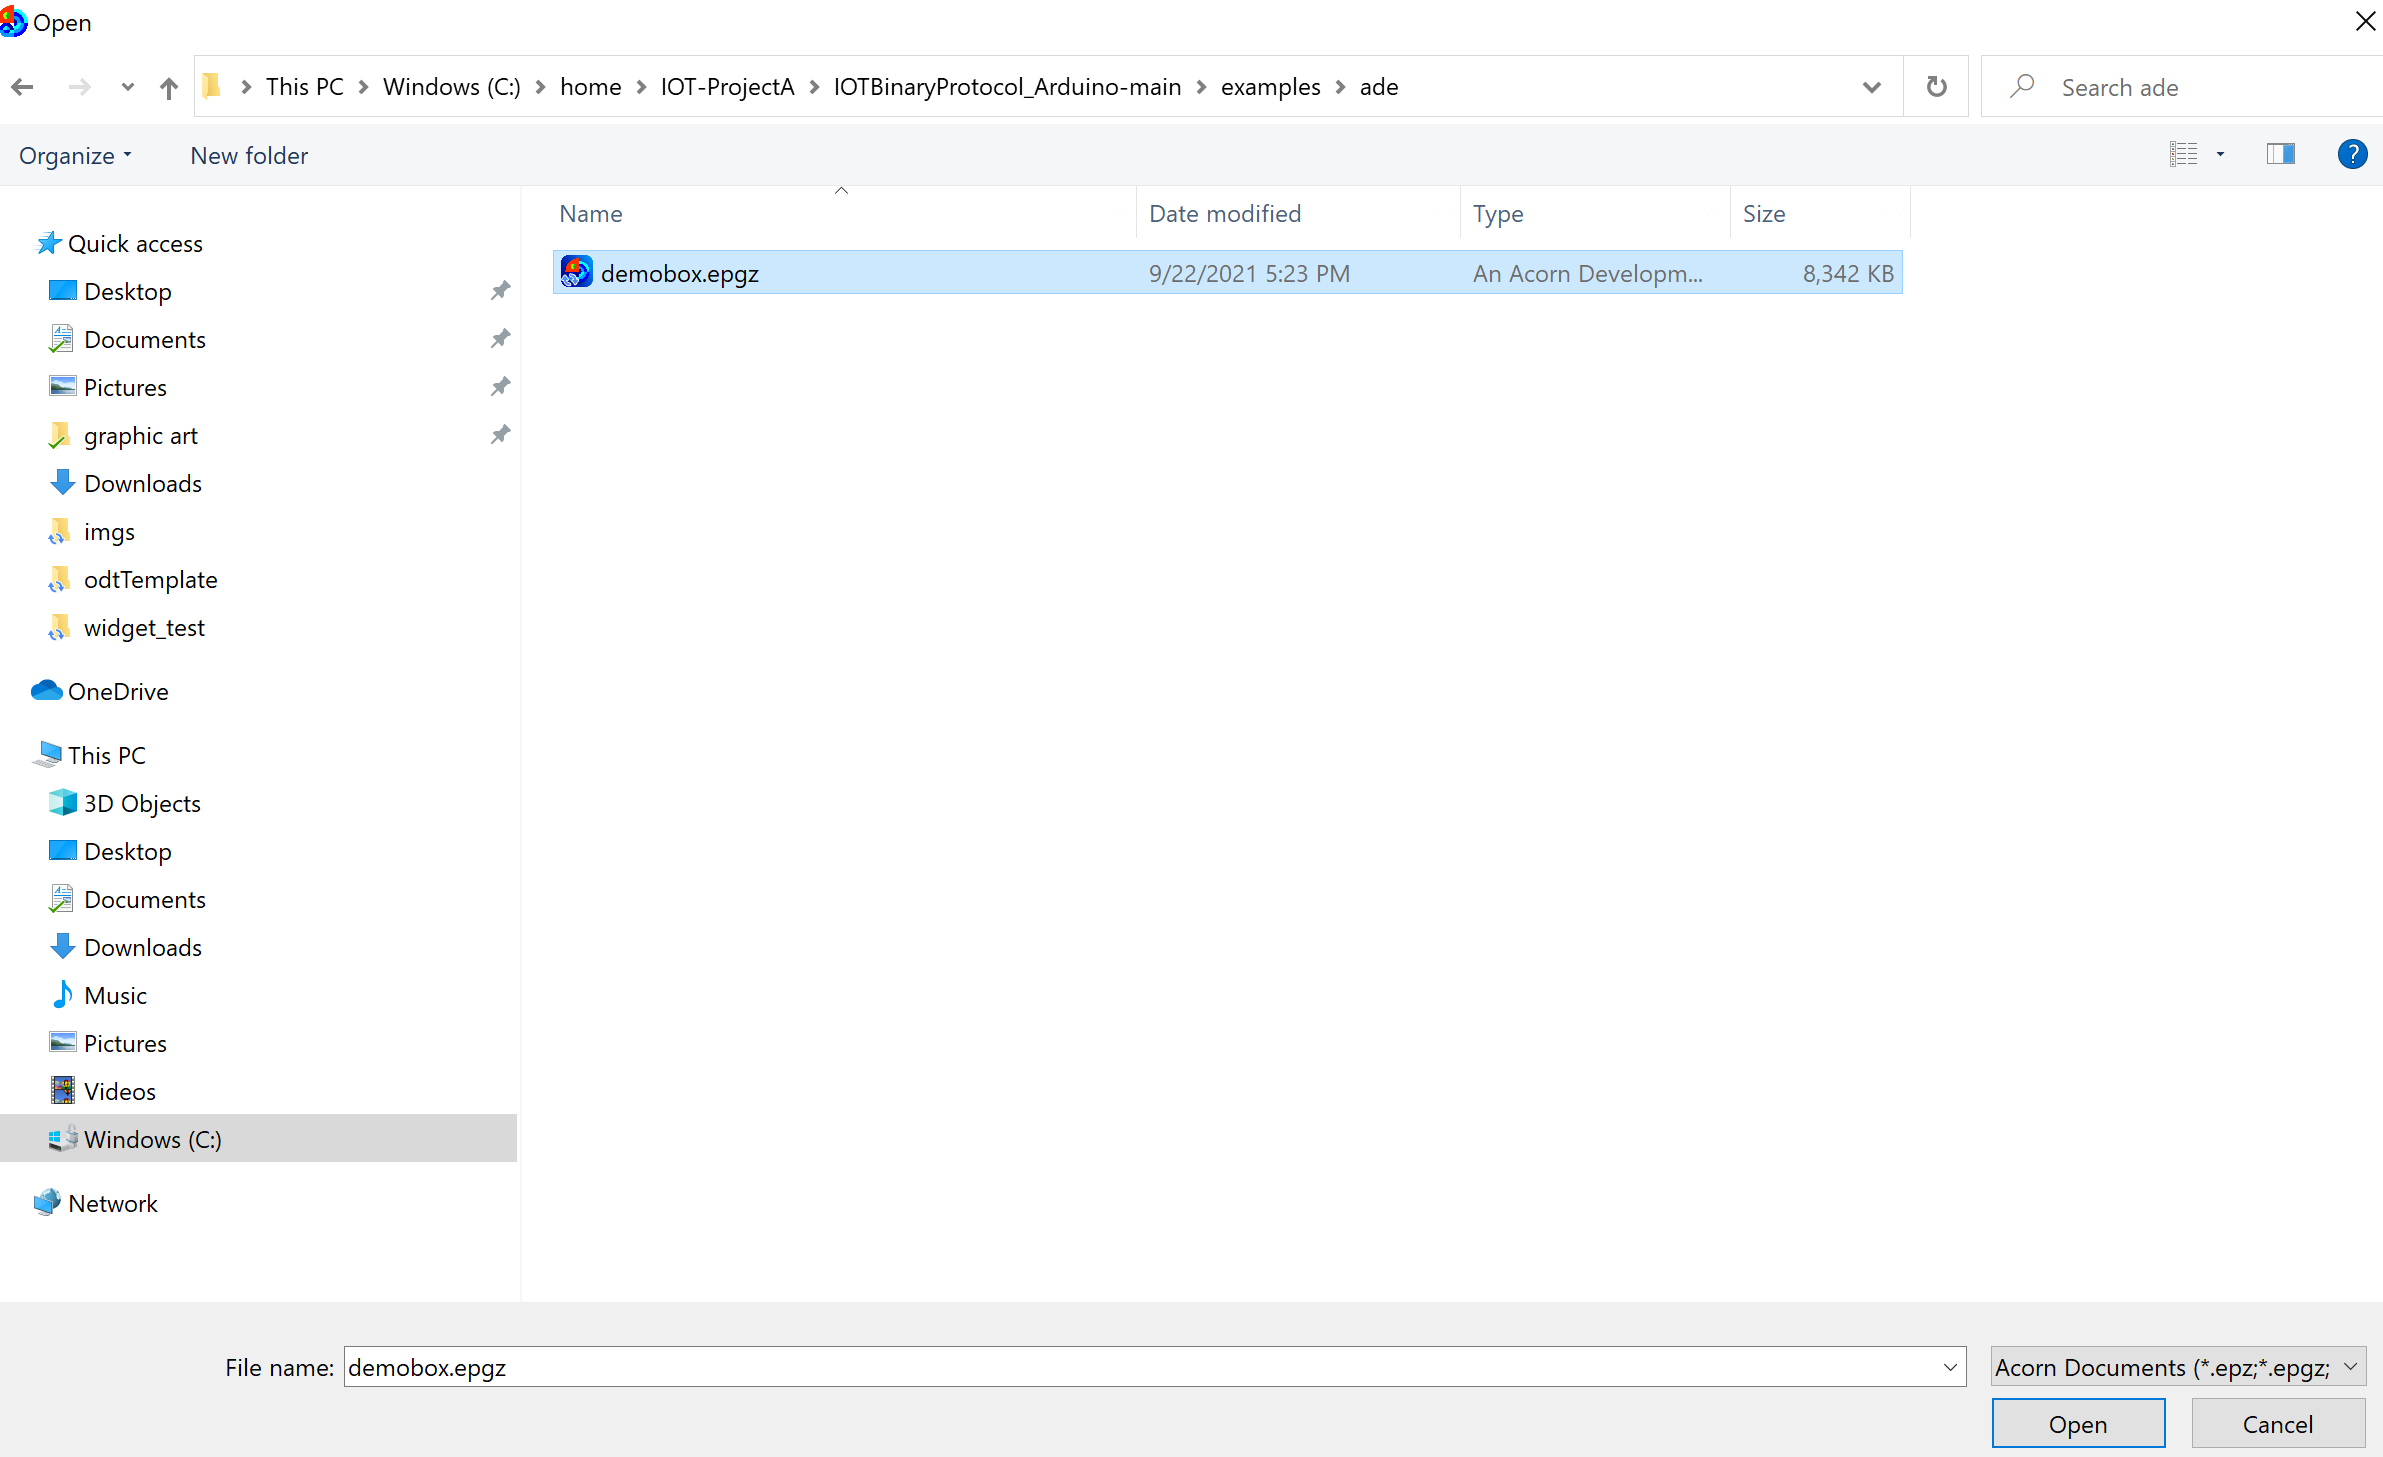
In ADE, please open demobox.epgz in the examples > ade folder.
-
Conneect Ubique Panel power cable.
-
Switch on power.
-
Use USB cabel to connect your PC with Ubique Panel.
-
Please click ⇩ for downloading the ADE Design to Ubique Panel.

-
Disconnect the USB cable between Ubique Panel and your PC.
Step 4 : Connect Arduino module and Ubique Panel
-
Please use DuPont Line to connect the Arduino with Ubique Panel
-
ARDUINO NANO module needs a separate and independent power supply.
-
The connector pitch of Ubique Panel is 2.0mm.

-